
Homemade soap is simple, economical, and efficient to optimize your resources and not spend more. Also, it has another advantage: the more homemade the soap you make, the less chemical additives.
It will have, so in addition to becoming someone more self-sufficient, you will contribute to the environment to make your hygiene a little healthier. We propose the best ideas so that you can carry them out comfortably from home.
Today, we explain how to make homemade bar Face soap, a process that can be a long time and depending on dangerous contexts, but it will give you satisfactory results.
What is the Step of Making Homemade Soap?
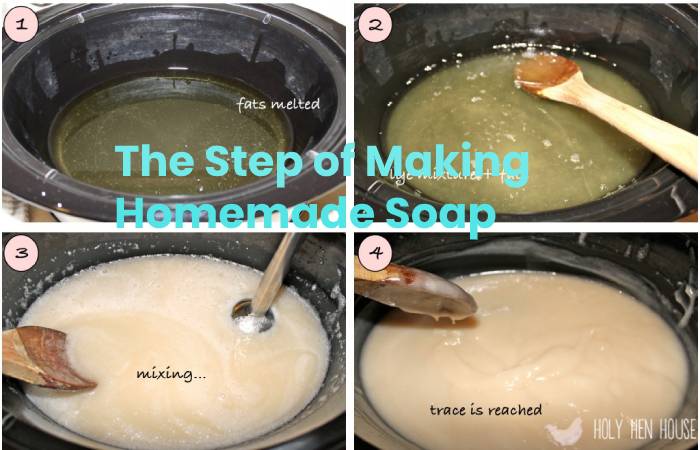
Follow the steps to the letter to get your homemade bar soap. Take note:
Step: 1
- The most recommended method of making bar soap calls the cold process, but it takes a little more heat.
- So the chemical reactions can be more consequential.
- You must follow the letter’s method, that you use safety protection such as gloves or masks and do not carry out this process with children around.
Step: 2
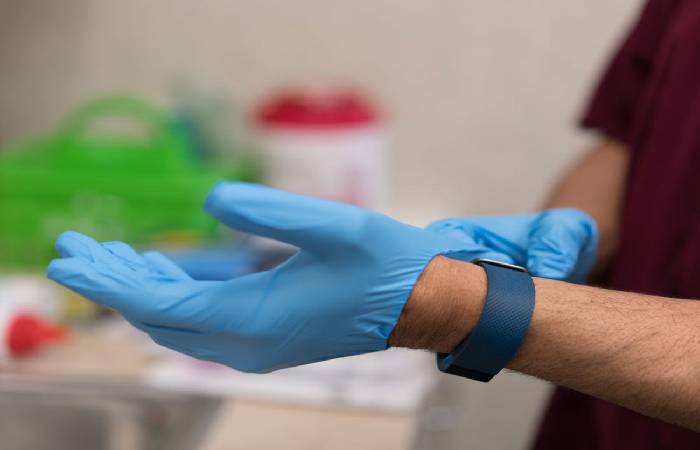
Before starting the recipe, keep in mind the following recommendations for your safety :
- Wear rubber, latex, or plastic gloves, protective glasses.
- Wear a long-sleeved shirt and pants so that your skin is covered 100%.
- Do not use the same containers to make soap as to eat.
- Never pour water into the bleach. It would help if you did it the other way around and in small amounts.
- Don’t use aluminum containers to make soap, as it reacts dangerously with bleach.
- Don’t leave fresh soap or bleach in areas where children or pets can reach them.
Step:3
- First, you will need to select the vegetable oils to create the soap.
- The amount of oil you mix does not matter, but the choice is essential since the ingredients you use later may vary.
- In case it is the first time you are making bar soap, we recommend making a simple mixture with one or two oils.
- Remember, regardless of the oil you decide to use. You will need 460 grams of fat or a little less.
- Naturally, to reduce costs, cooking oil is usually used, but if you want a more refined soap, you can try hemp oil mixed with a small amount of olive oil.
- For a foamy soap, use one part coconut oil, one part hemp oil, and one part olive oil.
- And also add a few drops of aromatic oil to give it a better smell.
- You will also need proportionate bleach to prepare your homemade bar soap.
Step: 4
- With all the ingredients gathered, it is time to prepare the soap paste. First, pour water into a safe container.
- It recommends using stainless steel material, as it will not heat up as much as metal, and you will avoid getting burned when adding the bleach.
Step: 5

- Measure the bleach using a kitchen scale and using a heat-resistant plastic or glass container.
- In case you want to make little soap, it is better to measure the bleach taking the measure of a glass.
- Handle bleach with great care to avoid skin damage.
- Remember that it is dangerous to mix water with bleach to pour the bleach in small amounts, stirring it.
Step: 6
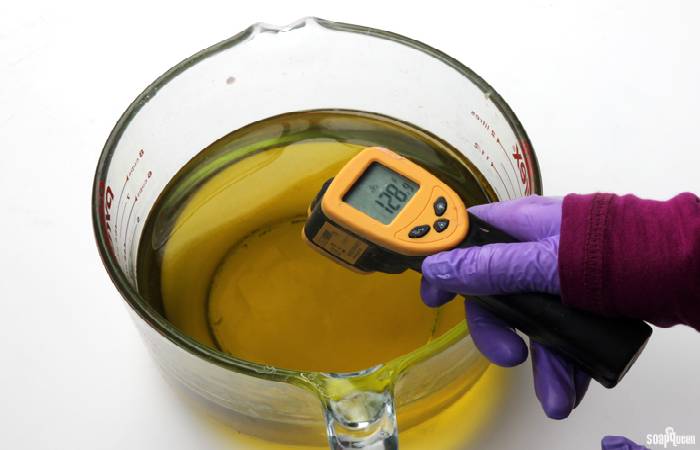
- Let the mixture cool, and to control the ideal temperature, you can place a thermometer inside. The solution should work between 50ºC and 43ºC.
- While it cools, you can heat the oils you will use to make your homemade bar soap.
- Of course, the temperature of the oils will not be able to exceed that of the bleach.
Step: 7
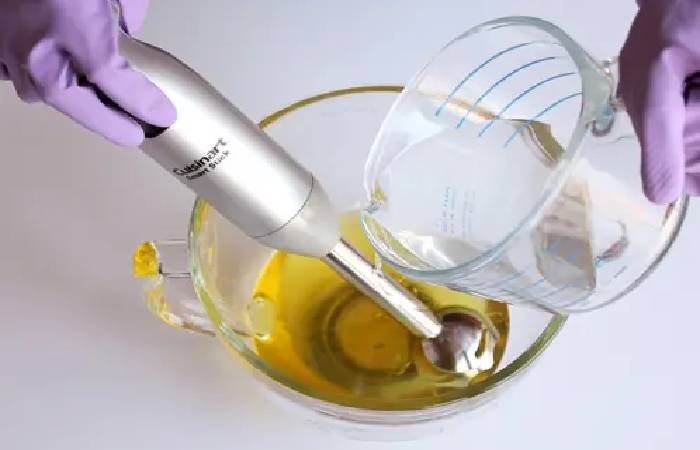
- After heating the oil, you can pour it over the pre-mix of bleach and water.
- Take a large container to hold all the ingredients and remember that it should be made of stainless steel, to avoid burns.
- Pour the oils little by little and stir the solution. You will notice how the soap paste gains in texture and thickness.
- This process can last between 15 minutes and an hour, always depending on the oils you have used and how thick they are.
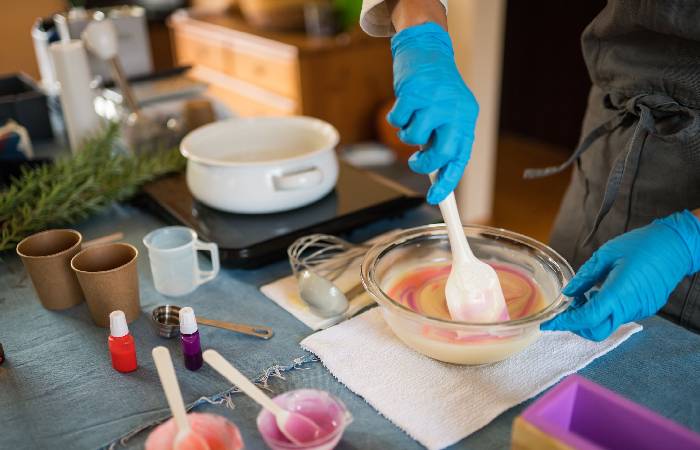
- At this time, you can also add the fragrances that you like the most, using essential oils.
- Remember to stir everything well and choose essential oils that contribute to your skin’s health and care.
Step: 8
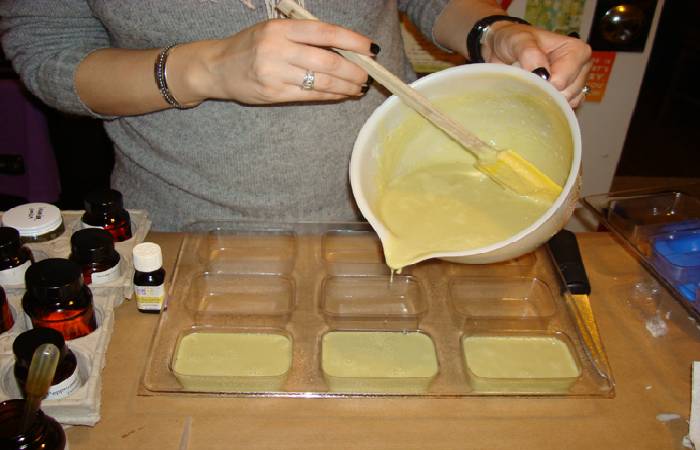
- Stir the mixture until it is very thick, like a paste. You will then need to prepare the mold for the soap paste to set.
- The soap mold should be simple, made of plastic or silicone. In case you want to use a wooden one, it will be necessary to cover it previously with the previous materials.
- When you have the mold ready, pour the soap paste into it. Cover it to the top and use a putty knife to go over the top to make it straight and smooth.
Step: 9
- With the paste in the mold, cover the top with towels or a charcoal piece and allow 24 hours the time required for the soap paste to solidify.
- This process is known as saponification, and it must take place before cutting into bars.
- After a full day, you can remove the mold and cut the soap into bars, as the process will be over.
Step: 10
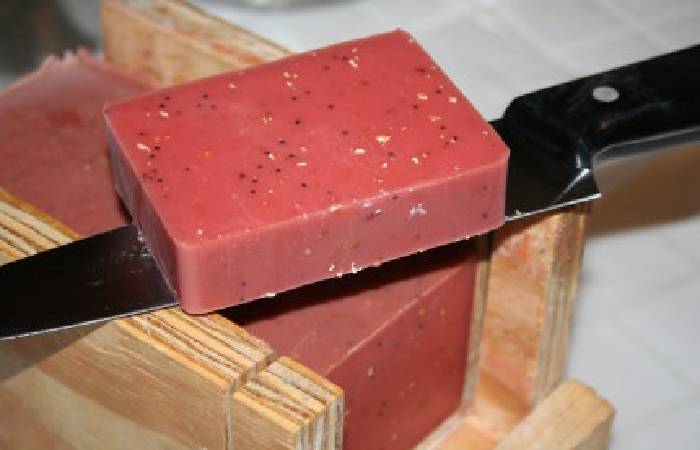
- Cut the soap into different bars and air dry for a few weeks (3 to 8) before using it.
- You can place it on wax paper or some similar disposable material so that the essential oils do not damage the surface while the soap sits.
- And ready! You already have your bar soap available to use.
Conclusion
- Soapmaking is a beautiful way to enjoy natural, gentle soap.
- It takes time to process, so don’t discourage when your soap isn’t perfect.
- You do more experiments, the better your soap will be.
- Always follow safety measures and work slowly. For one-on-one guidance, consider taking a soapmaking class.
- If you don’t want to work with lye, use a melt-and-pour soap base, which you can find online.
- It’s already saponified, so you can experiment with soapmaking until you’re ready to make it from scratch.
Also Read: What is a kiwi? – History, Properties, Benefits, and More
- KNOW MORE:- techhandbusin